Pages

Saturday, September 8, 2012

Welcome Baby!

While the major greeting card companies have created thousands of greeting cards to say congratulations on the new baby, sometimes you can't match the card to the gift inside...so make your card to match the outfit inside the box and have some fun!  
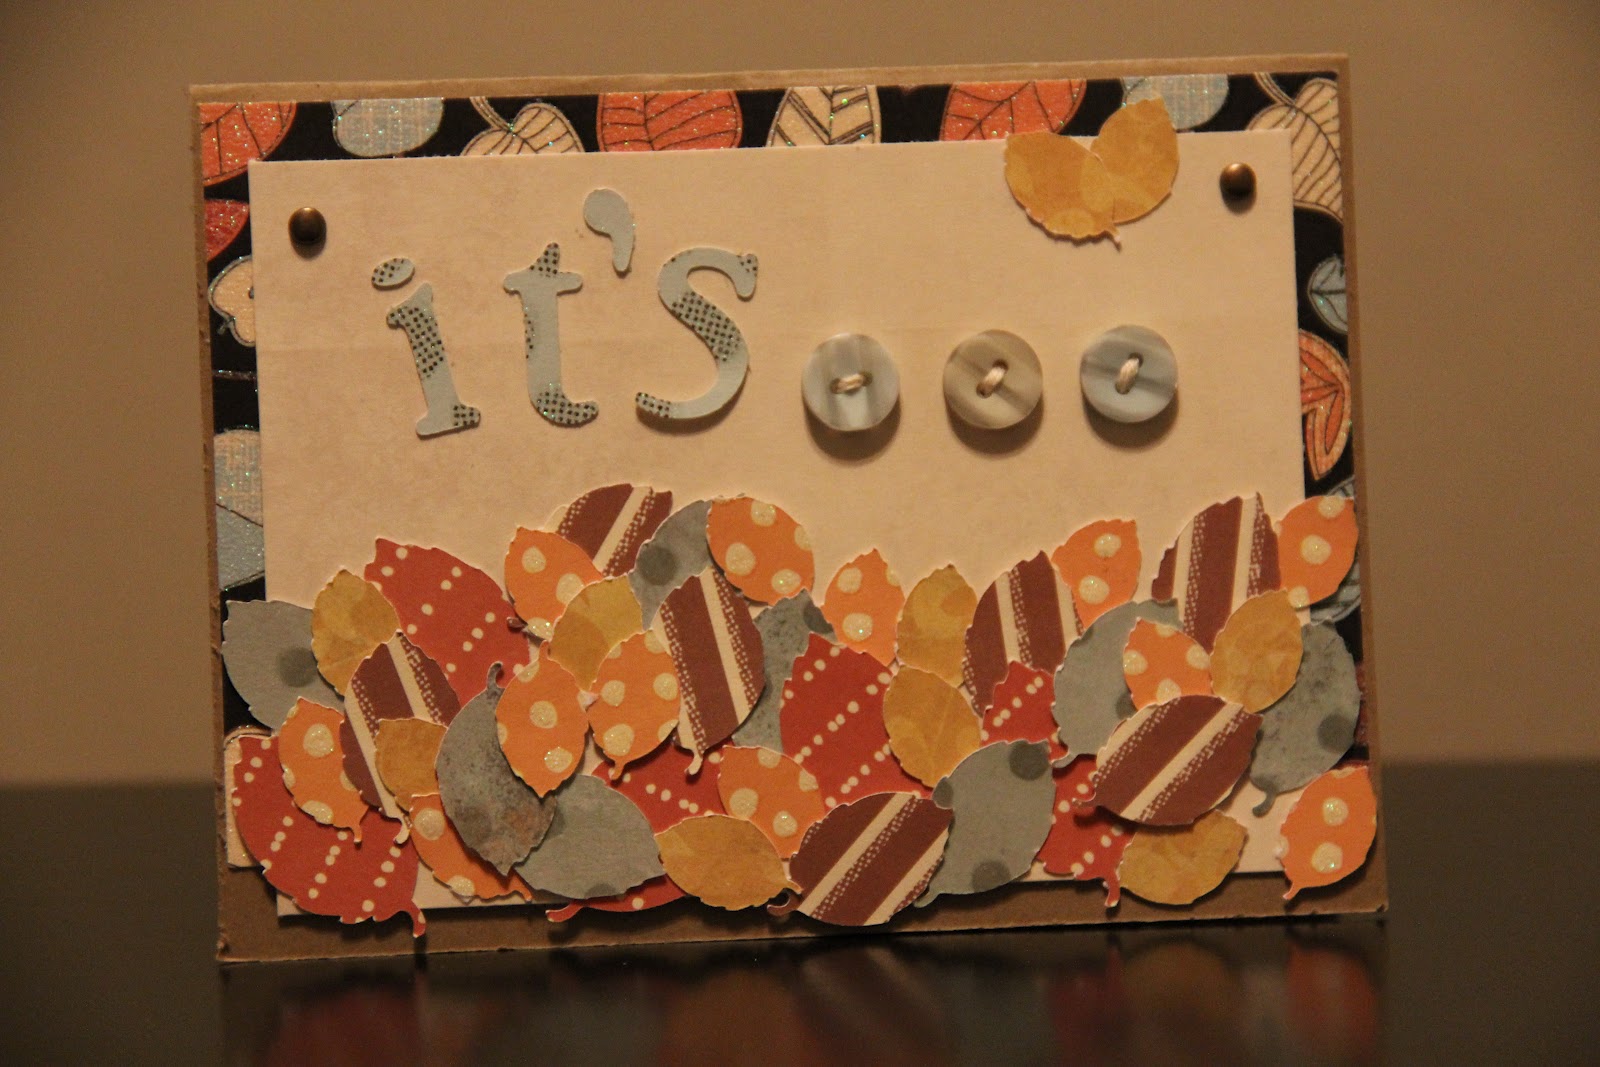
Giraffe Pattern
 To make the card:
  1. Purchase or cut your own card to size.
  2. Choose a background paper and cut to the size of the card's face.  Attach to card.
  3. Either print a pattern from the internet, free hand, trace, stencil, cut the animal print from your choice of paper.  
  4. Take spots (in this case) and use a paper embossing system to add a pattern to the spots to add some extra cuteness.  Attach to your card.
  5. Cut a strip of paper and use a boarder punch to create a lace looking strip.  
  6. Cut a smaller strip of coordinating paper and attach to the middle of your lace strip cut from step five. 
  7. Using foam stickers, attach to the strip created from steps five and six to the desired place on the card face.
  8. Cut your desired letters using a stencil or paper cutting machine.  Attach to the lace strip.
  9. For the inside of the card, cut a slightly smaller square from the same base paper cut in step two.  Attach to the inside face of card.
  10. Use the same paper from step four and cut a smaller square than that cut in step nine.  Attach to the center of the square from step nine.
  11. Use a neutral colored paper to create a writing block. 
  12. Punch holes using an awl, needle or skewer in each corner of the writing block.
  13. Use a dark colored brad and attach to writing block in the holes punched from step twelve.
  14. Attach writing block to the square from step ten.
  15. Inside of Card
  16. Write your sweet message, stuff in your envelope, seal with a kiss and enjoy putting in the mail or seeing the reaction in person at the baby shower.  
Tip: I used a giraffe pattern because the outfit I purchased for the shower was obviously a giraffe.  You could create a similar card in almost any animal print.  It takes a little time and a little creativity, but makes for a wonderful card for wonderful friends having their first little one.


Monday, September 3, 2012

Fall Love

For some people, the falling of colored leafs, smell of fires burning, hot apple cider, and cool crisp air is the best time of the air.  If you cannot spend some wonderful, quality time with your loved ones this season, send your fall love with this card!  This card is also good for inviting loved ones to Thanksgiving dinner!
Fall Love
To make the card:
1. Use a pre-cut card, or cut your card from a neutral colored card stock.
2. Cut your fall leaf patterned paper, and cut slightly smaller than the face of your card.  Attach to card.
3. Cut a neutral colored card stock background and punch holes using an awl, skewer, or needle in the top two corners.  Attach a neutral colored brad. 
4. Find about five different, coordinating, patterned paper and cut about thirty leafs of different sizes using pre-cut leafs, or using your paper cutting machine.  Apply adhesive of choice to each leaf and randomly place at the bottom of the card, saving a few for the inside of your card. 
Tip: To add some dimension to your card, you may want to use double sided foam stickers to elevate some groups of leafs from the pile.
5. Use a coordinating colored piece of card stock and cut out your letters for the front of your card using pre-cut letters or using your paper cutting machine.  Attach to the front of your card.
6. Lay three bottoms, of coordinating color, on your card and punch holes using an awl, needle or skewer in each hole.  Attach buttons by using a needle and twine or embroidery floss.
7. For the inside of the card, cut a base background paper that coordinates with the overall design of card and attach.  
Inside of Card
8. Cut a neutral colored background paper and attach to inside of card on top of rectangle cut in step seven.
9. Using a striped piece of coordinating paper, cut two strips of about .5 inches and attach to both top and bottom of block cut in step eight.
10. Using pre-cut or your paper cutting machine, cut your base letters for "Fall" and attach to your card.
11. Using the same paper selected in step two, cut out your "Fall" letters of the same size in step ten.  Attach to letters in step ten using double sided foam stickers.
12. Using the same paper used in step five, cut the word "y'all" out using pre-cut letters or your paper cutting machine.  Attach to the inside of your card.
13. With the remaining leafs cut in step four, spread and attach to the bottom of the inside of the card.
14. Write your sweet message, put in your envelope, slap on a stamp, and put in the mail for some fall, warm wishes.  

Sunday, September 2, 2012

Winter Greetings

Some people love playing in the snow during the winter.  Others move to warm climates to avoid shoveling the white stuff that falls from the sky. But for most, sending a little winter love is enough to warm the soul during the chilly, winter months.  For those that absolutely love snowflakes, these cards might just be enough to put a smile on a loved one's face regardless of how close they live to the Equator.  This card is also a great option for a unique Holiday Card. 
Winter Love for Warming the Soul
To make the card:
1. Purchase blank, colored cards or cut your cards from a piece of colored card stock.
2. Find a base, patterned winter themed card stock or paper and cut a strip about two inches wide, and a height slightly smaller than the height of your card.  Attach to one side of the card.
3. Use another winter themed piece of card stock or paper and cut a large base square, approximately 4 by 4 inches for this card.  Attach to card.
4. Cut a small strip of winter themed paper or card stock about one inch by three inches.  Center and attach to strip from step two.
5. Cut a square of about 3.5 by 3.5 inches and attach to base square from step three.  
6. Using an awl, needle or skewer, punch holes in each corner of the square in step five.
7. Attach brads of choice to each corner of card. 
8. Purchase or cut your own snow flakes.  For this card, the snow flakes were ornaments found at a local craft store.  You could also use a pre-cut snow flake or cut your own snow flake from your paper cutting machine.  Attach to the card using double sided foam stickers.
9. Use embellishments that look like little snow balls and jewels from your local craft store.  The more random the pattern, the more they will look like snow on your card.
10. Find a piece of card stock or paper that has a snow-people repeating pattern and cut a strip wide enough to see all of the snow-people  
Inside of Card
11. Using paper that matches the paper already used for the card, cut a strip about two inches in height.  Attach to the inside of the card.
12. Attach the strip of snow-people from step ten to the strip cut in step eleven.
13. Using the same embellishments from step nine, add to the base strip above your snow-people strip.
14. Write your winter greeting, use a holiday inspired stamp, seal with love and send in the mail.
  
 Always remember, you might be sending a card with some winter warms to your loved one, but a cup of hot chocolate goes great when watching the snow fall outside of your window, creating this card. 


Happy Holidays


For those that love to send out their holiday cards, or create them, the earlier they can get them done the better.  For this super simple, yet wonderful looking when completed, card, cutting in July so you can get them out by Christmas in December can be quite a bit of fun.
Simple Holiday Greetings
To make the card:
1. Either purchase a pre-cut card or cut use a simple based card stock, cut your card to size.
2. Using a dark green or patterned paper, cut two strips of approximately 1.25 inches.  Attach to card.
3. Using the same paper from step two, cut a strip of card stock approximately 2 inches.  Attach to card.
4. Using a lighter green colored, textured card stock, cut two strips 1 inch and one strip 1.75 inches wide.  Attach to strips from steps two and three.
5. Find or create a textured piece of card stock and cut three squares to a size slightly larger than your snowflake embellishments or brads.

6. Using an awl, needle or skewer, punch a hole int he center of your squares from step five and attach.
Option One: room for a family picture.
7. Using a slightly lighter, textured piece of red card stock, cut three squares and attach to cards.  
8. Attach the square from step seven to the square from step six.  Attach to card where you please.
9. Using twine or a neutral piece of string, wrap around cover of card and tie in a bow.
10. Using the same paper from step four, or a color very similar, cut to size for the inside of your card and attach.
11. Using the same paper used in step five, cut two strips, about one inch side, and attach to the top and bottom of the inside to the card.

Option One
12 a. Print your family photo, add sticky photo corners to all our sides of your picture, center and attach to the center of your card.

Option Two 
Option Two: room for holiday message 
12 b. Either add a piece of neutral colored paper as a space to write your holiday message. You can either leave as is, your punch holes in the top left, bottom left and top right corners using an awl, needle or skewer in order to attach silver brads.
13 b. Cut a small dark green square the same size of that cut in step seven.  Attach to the bottom right of your message block in step twelve b.
Cut a square of the same paper used in step seven, and cut to size as square done in step five.
14 b. Punch a hole in the center of the square cut in step thirteen b.  Attach your snow flake brad and attach to the center of the square in step thirteen b using a double sided foam sticker.

15. Put into your envelope, use a holiday stamp, and put in the mail box after you have sealed in your holiday greetings with love.

Halloween | October 31st

Every year, one special holiday comes around filled with laughter, a few scares, wonderful hand made costumes made by mom, but especially the joys of Halloween.   
Halloween greeting cards 
 To make the card:

1. Either purchase colored blank cards, or cut our card to size out of your choice of card stock.
2. Use a foundation piece of decorative paper that fits our style of Halloween.  For this card, the embellishments are a bit more cartoon like, so the back ground is a little more animated. Cut foundation to size.
3. Using an awl, skewer, or something to poke a hole in each corner, place card on top of cork and punch holes so that you can attach brads of choice.  For this card, I chose to use colored brads with a bit of glitter to add some shimmer to the card.
4. Either use purchased embellishments or create your own accents using a stencil, stamp or paper cutting machine.  Attach to your card.
Option One: Simple Inside of Card
5. For the inside of your card, cut out your word of choice in a base color using stencils or paper cutting machine.
6. Cut out the same size of letters you did in step five in patterned paper to match the stile of your card. Attach to letters used in step five using double sided foam to "raise" letters off their individual background letters. 
7. Take a dark back ground paper and cut a strip of a wide width, approximately two inches.
8. Use bright green or a color that will "pop" off the paper and cut slightly smaller than the strip from step seven.
9. Like step eight use a color not as bright as that used in step eight, but lighter than that chosen in step seven.
10. Layer and attach steps seven through nine together and attach to inside of card.
11. Use the letters from step six and attach to layered strip from step nine.

Option One
12 a. Write a spooky message or Halloween greeting, put in an envelope, seal with a kiss and put it in the mail.

Option Two  
Option Two: Spooky Inside of Card
12 b. Using a Halloween themed card pack, select a patterned paper and cut to the exact size as the inside face of your card.  Attach.
13 b. Attach your strip created in steps five through eleven.
14 b. Using a neutral colored background paper, cut a rectangle slightly smaller than the remaining area of the inside of your card.  Attach.
Note: You can punch holes in each corner of your rectangle in step fourteen b using an awl, skewer or needle, and use the same colored brads used in step three to attach to card.

15. Write your sweet Halloween message or use as an invitation to your Halloween party, put in your envelope, slap on your stamp, and put in the mail!

Happy Halloween!


Sunday, May 13, 2012

Note Cards | Flowers

For When You Can't Send Real Flowers... 

Sending flowers is such a wonderful way to show someone that you are thinking of them.  For those that a flower delivery truck is hard to reach, but a mail box isn't, these cards might just be a cute solution.
Flower note cards
 To make the card:
  1. Use pre-made, plain cards or cut a card out of plain card stock that will fit your envelope.
  2. Using brown card-stock, cut the basic flat bottom "V"-shape of a pot.
  3. Cut a strip of the same colored brown card-stock that is the width of the widest part of the flower pot base and attach to your flat bottom "V".
  4. Punch two holes just slightly below the ridge you created in step three of equal distance.
  5. String a piece of twine, rope or jewlery thread and tie a bow.  Using twine proves to be a little less manageable.
  6. Using a piece of green card stock either hand cut petals for your flowers or use a paper cutting machine.  Sparadically place around the top of your pot.  If you really want to add some character to the card, you can use a green marker to draw in the veins of the petals.  
  7. Using pre-made flowers of two different sizes or creating your own through a stencil or paper cutting machine, have enough to create a full arrangement of flowers for your pot.
  8. Either use button brads/tacks, sticky jewels, or sew real buttons  of coordinating colors to attach to the center.
  9. Attach both size flowers evenly around your pot even using foam stickies that will elevate some flowers and petals from the card.  
  10. If you have any remaining flowers and petals, attach to the inside of our card.
  11. Write your sweet message, put in your envelope, slap on a stamp and put in the mail!
NOTE: If you want to put some extra love into the card, you could punch holes around the edges of the pot and use an almost matching in color thread to stick around.  You could also use an almost exact color green thread to stitch the veins of the flower petals as well. 


Saturday, May 12, 2012

Birthdays | Year Round

Though I'm sure two year-olds are far more interested in ripping open gifts and chowing down on a sugar filled cake, a little birthday card sent with love just adds to the magic of the great day!
Second Birthday Love
 To make the card:
Inside of Card
  1. Cut a plane piece of card stock out that fits the size of your envelope.
  2. Cut a base patterned piece of paper that will coordinate with your color scheme, slightly smaller than your card size.
  3. Choose a piece of patterned paper of a different color and cut various sizes of the birthday year (in this case, a handful of number twos).  Attach the numbers sporadically around the base square from step two.
  4. Punching holes in even lengths around the base using an awl or needle over a piece of old cork board, thread a coordinating color of thread around the card to give it a stiched look. 
  5. Choosing a dark piece of card stock with a subtle pattern, cut out the words "appy" and "irthday" either from a stencil or by a paper cutting machine, and attach to your card.
  6. Cut out the letters "H" and "B" from the same paper used in step five, but larger in size from your words in step five.
  7. From a bright piece of patterned paper, cut out the letters "appyirthday" from a stencil or using your paper cutting machine. Attach letters to the base words cut out in step five.
  8. Choosing a coordinating paper, cut out the letters "H" and "B" slightly smaller in size from those cut out in step six. 
  9. Using an awl or needle over a piece of cork board, punch holes around the edge of your letters from step eight and thread a piece of coordinating thread to give the stitched look.  Attach letters to their bases and then attach to card.
  10. Punch two holes in the remaining space of your card and cut a piece of twine or jewelry making thread. Thread through holes and tie a bow.
  11. For the inside of the card, use the same paper from step eight and cut to slightly smaller than the width of your card. 
  12. Punch holes around the edge of the rectangle from step ten with an awl or needle over a piece of cork board and thread a piece of thread through the holes.  Attach the rectangle to the card
  13. Cut a piece of cream colored card stock to write our sweet birthday message on.  Attach to the center of the inside of card.
  14. Using the paper from step two and three, cut the birthday number of various sizes and place around the boarder of your message box from step thirteen.
  15. Put in your envelope, add a stamp, give it a quick kiss and send it off!

Friday, May 11, 2012

Independence Day Post Cards | 4th of July

Red, white and blue might just be the oldest color pallet in the book, and doesn't it make for a great color scheme for super simple post cards!
Red, White and Blue Post Cards
 To make the card:
  1. Cut out a post card sized card or use a pre-maid post card purchased from your local craft store.
  2. Find red, white and blue paper that fits a pattern scheme and feel you are going for.
  3. Divide the width of your post card and divide by four to get the thickness size of your stripes.  Cut the lengths of the stripes to the length of the post card. Adhere to your post card..
  4. For the blue box, take the width of a stripe and double it to get your width.  For the length of the box, divide the length of your post card by two.  Cut your blue box to your measurements.
  5. Purchase star shaped brads/tacks from your local craft store.
  6. Punch holes where you want your stars to be positioned.  To punch the holes, use a needle or awl to punch the hole through the blue paper while sitting it atop an old cork board or a piece of styrofoam.
  7. Attach your brads.
  8. Attach your blue box with stars to your card in the upper left hand corner of your post card.
  9. Write your super sweet happy Fourth of July message to your loved one on the back.  
  10. You can either slap on a stamp to the back of your card and send, or put in a velum envelope (purchased from your craft store) that will fit your post card and send that way.   

Sunday, May 6, 2012

Birthdays | Year Round

For the birthdays you can be there for in person, there is nothing wrong with sending your love through the mail.  
A Very Girly Happy Birthday
 To make the card:

1.  Cut your card out of plain card stock that fits your envelope.
2.  Cut a base out of complimentary paper with a design and attach to card.
3.  Using your paper cutting machine, cut out a lace pattern out of a color that will "pop" off your base color and attach.
4.  Cut your "Happy Birthday" letters out using paper that compliments the given color pallet.
5.  Cut out another set of "Happy Birthday" letters that are slightly smaller than your letters from step four.
6.  Attach step five letters to step four letters and then attach to your card.
7.  Either purchase an embellishment that fits the design of your card, or make your own and attach.
8.  On the inside of your card, cut a square of background paper that compliments the front of the card.
9.  Cut a smaller square out of plain card stock that compliments your color scheme.
10.  Punch holes in the corners of your square from step nine with a tooth pick, awl, needle.  Attach button shaped brads/tacks that match your color scheme.
11.  Attach your square to your square from step eight.
12.  Using embellishments found at your local craft store or hand made, attach your card.
13.  Write your sweet birthday message on the inside, put in your envelope, stick a stamp on and send it off.


Happy Birthday Lace
To make the card:

1.  Cut your card out of plain card stock that pits your envelope.
2.  Using a paper with a bright pattern, cut a square just slightly smaller than your card size and attach.
3.  Using your paper cutting machine, cut a lace pattern that fits the design of the card and attach.  Make sure the paper you use for your lace will not blend in with your base paper from step two.
4.  Cut "Happy Birthday" letters out of a base colored paper using a paper cutting machine or with a steady hand and stencil.
5.  Cut "Happy Birthday" letters out of a light colored paper that are slightly smaller than the size of letters cut in step four.
6.  Attach step five letters to step four letters, and attach to the card..
7.  On the inside of the card, use that paper that you cut your lace from and create a large square slightly smaller than your card size.
8.  Cut a square of lightly colored paper just smaller than that cut in step seven.
9.  Punch holes in the corners and middle sides of the square from step eight with an awl, tooth pick, needle on a piece of cork.
10.  Attach your button shaped brads/tacks that are of a complimentary color to the square from step eight.  Attach square to larger square.
11.  Write your birthday message, put in your envelope, slap on a stamp and send it off.


Father's Day | June 17th

Just like moms, we wouldn't be here without our dads too.  And while a card isn't a new tool, new car, or other new toy, it is still sending your love to one of the most important guys in your life. 
Father's Day Love
 To make the card: 
  1. Cut a plain color of card stock to fit your envelope.
  2. With a base paper, cut a rectangle out just shy of your card's front size.
  3. Cut a strip of stripped card stock that matches your base paper.
  4. Using a paper cutting machine, or a steady hand and stencil, cut out your "DaD" letters.
  5. Using a paper cutting machine, or a steady hand and stencil, cut out another set of "DaD" slightly smaller than the ones cut in step four. 
  6. Attach step five letters to step four letters and then attach to card.
  7. Like step four, cut out "No" in a paper that will "pop" off your base paper and attach. 
  8. using the hole from one of the "D" top paper layer, attach to card right after "No".
  9. Like steps four and five, cut out a number one of substantial side in comparison to your other letters and then attach like step six.
  10. On the inside of the card, cut out a complimentary paper in a rectangle to serve as a mat.
  11. Cut out an ivory colored rectangle slightly smaller than your mat and poke holes in each corner. To make the holes, use a tooth pick, needle, awl, something sharp.  Punch holes on a piece of cork so it does not damage your table or work surface. 
  12. Use brads/tacks that compliment the color pallet of the card and insert in the punched holes.  
  13. Attach message your ivory colored rectangle to your mat created in step ten.
  14. Write your message, put in your envelopes, attach a stamp, give it a quick kiss and send it off.

Saturday, May 5, 2012

Mother's Day | May 13th

Mothers are the reasons we are here.  Everyday should be Mother's Day in my opinion.  But for the special day marked on the calender, send a little hand made love!
Mother's Day Love
Various color options
To make the card:
  1. Pick a background color for the card body.  Make sure to cut to the size of your envelope.
  2. Using your background color, pick a color pallet with your papers.
  3. Pick a pattern from your paper cutting machine cards and cut your lace with a background.  Attach to card.
  4. Punch holes on the other side of your cut out design for your ribbon.
  5. Using a little under a foot of ribbon, string the ribbon from the inside of the card and tie a bow.
  6. Using left over paper from your cut out lace, cut a strip and attach to the inside of the card.
  7. With a light color, cut a rectangle large enough for your sweet message.
  8. Punch holes in the corners of your message rectangle and attach matching colored brads/fasteners you can get from your local craft store.
  9. Attach your message rectangle to the inside of the card.
  10. Put in your envelope, add a stamp, give it one last kiss and send it off. 
Various lace patterns. 

Monday, April 16, 2012

Note Cards | Everyday States

Sending Love From...

For those that find themselves moving around the United States, sending an update of address is always a good idea.  For those that are absolutely in love with their state, and want to spread some love, why not send it in a card? 

To make the card:

1. Purchase or cut a white card.

2. Select the state you want to use and create a pattern by printing the state outline from online or copy from another source.


"Sending Love from Maryland"
TIP: For the states like Colorado, Utah, Arizona, using a thicker line (more strands of embroidery floss) can be used.  For the states that are far more complex like Maryland, Massachusetts, New York, punching more holes and using a thinner line (one or two strands of embroidery floss) make those finer details a little easier to manage when hand stitching. 

"Sending Love from Colorado"
3. Using a paper hole maker (awk, skewer, sewing needle), put your state on top of the card and punch holes following the pattern lines. 

4. Hand stitch the paper using embroidery thread or other string of your choice.  

5. Find a heart or draw your own and create your paper patter.  Repeat steps 3-5 for your heart.

6. Write your sweet message inside, put in an envelope, slap a stamp in the corner and send some state love to your loved one.  

Sunday, April 15, 2012

Thought to Live By

"We make a living by what we get, we make a life by what we give."
-Sir Winston Churchill

Note Cards | Everyday Travels

Travel Wishes

For the frequent travelers, a trip to someplace new or old may seem like routine.  For those that rarely have the chance to get away, a trip can be a big deal.  Nevertheless, sending someone a card to wish them a wonderful trip can start the trip off on the right foot.
"Ay Bay Bay"
To make the card: 

1. Either cut your own blank white card, or purchase blank white cards from your local craft store.

2. If you know where your traveler is going, try and find a scene from their destination. 

3. Print or copy the scene and create a pattern to punch on the card.

4. Using a paper hole maker (awl, skewer, sewing needle), put your image on top of  the card and punch holes following the lines.
5. Hand stitch the patter using embroidery thread or other string of your choice.
6. Write your message inside, put into an envelope, attach your stamp and put in the mail. 
There are so many ways to make these simple cards.  Simple colors look great, but if the destination requires more color, go for it!  Just remember, if you are using embroidery thread, make sure to separate the strands so that you do not end up thicker than desired lines.  

Note Cards | Everyday Animals

 The Hand Stitched Animal Notes

It doesn't take a special occasion to be an excuse to send a note to someone.  Even a simple message to say hello can put the biggest smile on someone's face that makes it completely worth your time.
The Horse
How to make the card:

1. Purchase blank white cards from your local craft store or cut out your own from white card stock.

2. Find an animal, scene, character, you would like to put on a blank card.

3. Print the image onto a white paper.

4. Using a paper hole maker (awl, skewer, sewing needle), put your image on top of  the card and punch holes following the lines.

5. Hand stitch the patter using embroidery thread or other string of your choice.

6. Write your message inside, put into an envelope, attach your stamp and put in the mail. 


The Otter (could also be a tiger if
you use orange thread)
The Goat
The Pig
The Cow

Valentine's Day | February 14th

For almost every kid it seems, there is nothing better on February 14th than decorating your school Valentine's day box, and await all of the Valentines your friends, teachers and your crush (you hope) left you.  Even as adults, getting a card from someone you love gives you that warm, fuzzy feeling inside just like all of that chocolate you ate on the day of love did. 


Valentine's Day Love

To make the card:

1. Purchase, from your local craft store, a Valentine's day themed paper pack in addition to blank, pastel pink cards.

2. With a steady hand, trace your letters onto different papers and cut accordingly. Or use a paper cutting machine to make the process go by quicker. 

3. Using a darker shade of pink, cut a square and glue to the blank card.

4. Cut a 3/4 inch strip from the Valentine's Day themed paper pack, and glue to the bottom of the card.

5. Glue your letters to the card.

6. Either purchase pre-made hearts, or cut out your own and attach to the card. 

7. Write your sweet message on the inside, put into a pink envelope, attach a love themed stamp and send it off.  


Envelope Options
 Note: Every year, Loveland, CO will put their own post mark of love on your love letter or Valentine's Day card.   The city has been stamping the letters since 1947.  Every year, over 200,000 cards are stamped and re-mailed to all fifty states and over 110 countries.  Click here to get more information on how to get the stamp of love: Loveland Stamp

St. Patrick's Day | March 17

For those that are Irish, and those that are not, corned beef, cabbage, red potatoes and green beer are a great way to start celebrating.  But even sending some luck in the mail can bring good fortune just like the gold at the end of the rainbow.  
A bit of Irish Luck 


To make the card:

1. Using a piece of green card stock, cut your card according to the size of your envelope used.

TIP: Using velum envelopes is a great way to send your cards: it is unique, it is fun and it makes you want to open your card that much faster.

2. With a steady hand, trace and cut your lettering, or use a paper cutting machine.

3. Purchase green fasteners and clover/shamrock foam stickers.

4. Using various shades of green and gold, cut strips of paper to fit vertically on the card.  Layer thinner strips on top of larger strips for the layered affect. Glue to card. 

5. Using a push pin, paper puncher or other device good to poke hole through paper, position your letting and punch a whole where you would like to place your fasteners to secure your letters.

6. Attach the fasteners to each letter.

7. On the inside of the card, cut a square of card stock lighter than the shade used for the card body, write your St. Patty's Day message, and attach clover/shamrock stickers as you see if.

8. Put in your envelope, attach your love themed stamp and send off. 


Hand Stitching

Hand stitching or hand sewing your cards add a special touch that cannot be replicated by stickers.  If you have the extra time and patience, it truly shows the amount of thought you put into the card to make it extra special. 
Find and Make Your Pattern
Find a font (if doing lettering) or image (character, scene, animal, etc.) on the computer that you like and print off on a sheet of white paper. If you do not have access to a printer, or are using an image from a book, take a piece of paper of little weight (thinner paper), and trace over.  
TIP: If you like the image or text and plan on using over, trace the pattern onto template plastic you can purchase from your local craft store. Once copying your image, pre-punch your holes onto the template for future ease. 
Punching the Holes
A simple sewing needle works well as a hole punching tool.  However, if using a thicker needle, it may be more helpful to use something that will make a bigger hole (thicker swing needles, awl, skewer, paper puncher, etc.).  Make sure to punch holes over the lettering or lines or image. 
TIP: When punching your holes into the card, put the card on top of styrofoam, card board, or cork (from old cork board, pot trivet). It allows for the holes to go all the way through the paper and doesn’t leave damage to your table surface. To make sure that your pattern doesn’t slip while punching your holes, tape to the card or surface you are using as the backing to your hole punches. 
Stitching
Embroidery thread works great as the thread.  You can also use string, quilting thread (if small lines are desired), embroidery thread, ribbon, anything of your choosing that can be used as thread.  Use a sewing needle, cross-stitch needle, or paper sewing needle from your local craft store. There are various stitches you can use to create your patter but be sure to stitch over all of the holes so that you don’t have lingering holes all over your card when finished. 
TIP: If using embroidery thread, make sure to separate your strand so that you do not end up with a very thick line if your pattern requires smaller detailing. 
If you do not have experience with any sewing, there are great tutorials on line that you can use as an aid.  If those don’t work, check to see if there is a local quilt guild that could help show you the ways of sewing. 
Have fun with it.  You can be super creative and pair the technique with many other techniques of card making to create spectacular cards.  

Note Cards | Everyday Owls


The Owl Notes 

Simple note cards to say, "Hello," "I miss you," "Have a great week," are easy to put into a text message and send.  But by taking a few extra minutes to write them on owl cards means a lot too.  It may take the message a few days to get there, but who doesn't like getting the good kind of mail?  When making these cute little cards, it took me longer to wait for the machine to cut out the owls than it did for me to put them together.
The Owl Note Cards
To make the card:
1. Purchase blank note cards of various colors from local craft store or home goods sore with a stationary section of good size and variety.  Most of these card packs will come with coordinating envelopes. 
2. Using your card cutting machine, cut out owls (or animal of your choice).
NOTE: If you do not have a card cutting machine, there are pre-cut die cut kits of animals that you can use, some scrabooking stores carry “pre-cut” animal kits.  If you have the patience, you can always cut the animal of your choice yourself.  
3. Glue (or use other adhesive) to assemble the owls.
4. Attach the owls to the cards.
5. Write your notes, put into a coordinating colored envelope, add a stamp, put it in the mail.