Pages

Showing posts with label Hand Sewn Cards. Show all posts

Saturday, May 12, 2012

Birthdays | Year Round

Though I'm sure two year-olds are far more interested in ripping open gifts and chowing down on a sugar filled cake, a little birthday card sent with love just adds to the magic of the great day!
Second Birthday Love
 To make the card:
Inside of Card
  1. Cut a plane piece of card stock out that fits the size of your envelope.
  2. Cut a base patterned piece of paper that will coordinate with your color scheme, slightly smaller than your card size.
  3. Choose a piece of patterned paper of a different color and cut various sizes of the birthday year (in this case, a handful of number twos).  Attach the numbers sporadically around the base square from step two.
  4. Punching holes in even lengths around the base using an awl or needle over a piece of old cork board, thread a coordinating color of thread around the card to give it a stiched look. 
  5. Choosing a dark piece of card stock with a subtle pattern, cut out the words "appy" and "irthday" either from a stencil or by a paper cutting machine, and attach to your card.
  6. Cut out the letters "H" and "B" from the same paper used in step five, but larger in size from your words in step five.
  7. From a bright piece of patterned paper, cut out the letters "appyirthday" from a stencil or using your paper cutting machine. Attach letters to the base words cut out in step five.
  8. Choosing a coordinating paper, cut out the letters "H" and "B" slightly smaller in size from those cut out in step six. 
  9. Using an awl or needle over a piece of cork board, punch holes around the edge of your letters from step eight and thread a piece of coordinating thread to give the stitched look.  Attach letters to their bases and then attach to card.
  10. Punch two holes in the remaining space of your card and cut a piece of twine or jewelry making thread. Thread through holes and tie a bow.
  11. For the inside of the card, use the same paper from step eight and cut to slightly smaller than the width of your card. 
  12. Punch holes around the edge of the rectangle from step ten with an awl or needle over a piece of cork board and thread a piece of thread through the holes.  Attach the rectangle to the card
  13. Cut a piece of cream colored card stock to write our sweet birthday message on.  Attach to the center of the inside of card.
  14. Using the paper from step two and three, cut the birthday number of various sizes and place around the boarder of your message box from step thirteen.
  15. Put in your envelope, add a stamp, give it a quick kiss and send it off!

Sunday, April 15, 2012

Hand Stitching

Hand stitching or hand sewing your cards add a special touch that cannot be replicated by stickers.  If you have the extra time and patience, it truly shows the amount of thought you put into the card to make it extra special. 
Find and Make Your Pattern
Find a font (if doing lettering) or image (character, scene, animal, etc.) on the computer that you like and print off on a sheet of white paper. If you do not have access to a printer, or are using an image from a book, take a piece of paper of little weight (thinner paper), and trace over.  
TIP: If you like the image or text and plan on using over, trace the pattern onto template plastic you can purchase from your local craft store. Once copying your image, pre-punch your holes onto the template for future ease. 
Punching the Holes
A simple sewing needle works well as a hole punching tool.  However, if using a thicker needle, it may be more helpful to use something that will make a bigger hole (thicker swing needles, awl, skewer, paper puncher, etc.).  Make sure to punch holes over the lettering or lines or image. 
TIP: When punching your holes into the card, put the card on top of styrofoam, card board, or cork (from old cork board, pot trivet). It allows for the holes to go all the way through the paper and doesn’t leave damage to your table surface. To make sure that your pattern doesn’t slip while punching your holes, tape to the card or surface you are using as the backing to your hole punches. 
Stitching
Embroidery thread works great as the thread.  You can also use string, quilting thread (if small lines are desired), embroidery thread, ribbon, anything of your choosing that can be used as thread.  Use a sewing needle, cross-stitch needle, or paper sewing needle from your local craft store. There are various stitches you can use to create your patter but be sure to stitch over all of the holes so that you don’t have lingering holes all over your card when finished. 
TIP: If using embroidery thread, make sure to separate your strand so that you do not end up with a very thick line if your pattern requires smaller detailing. 
If you do not have experience with any sewing, there are great tutorials on line that you can use as an aid.  If those don’t work, check to see if there is a local quilt guild that could help show you the ways of sewing. 
Have fun with it.  You can be super creative and pair the technique with many other techniques of card making to create spectacular cards.  

Birthdays | Year Round

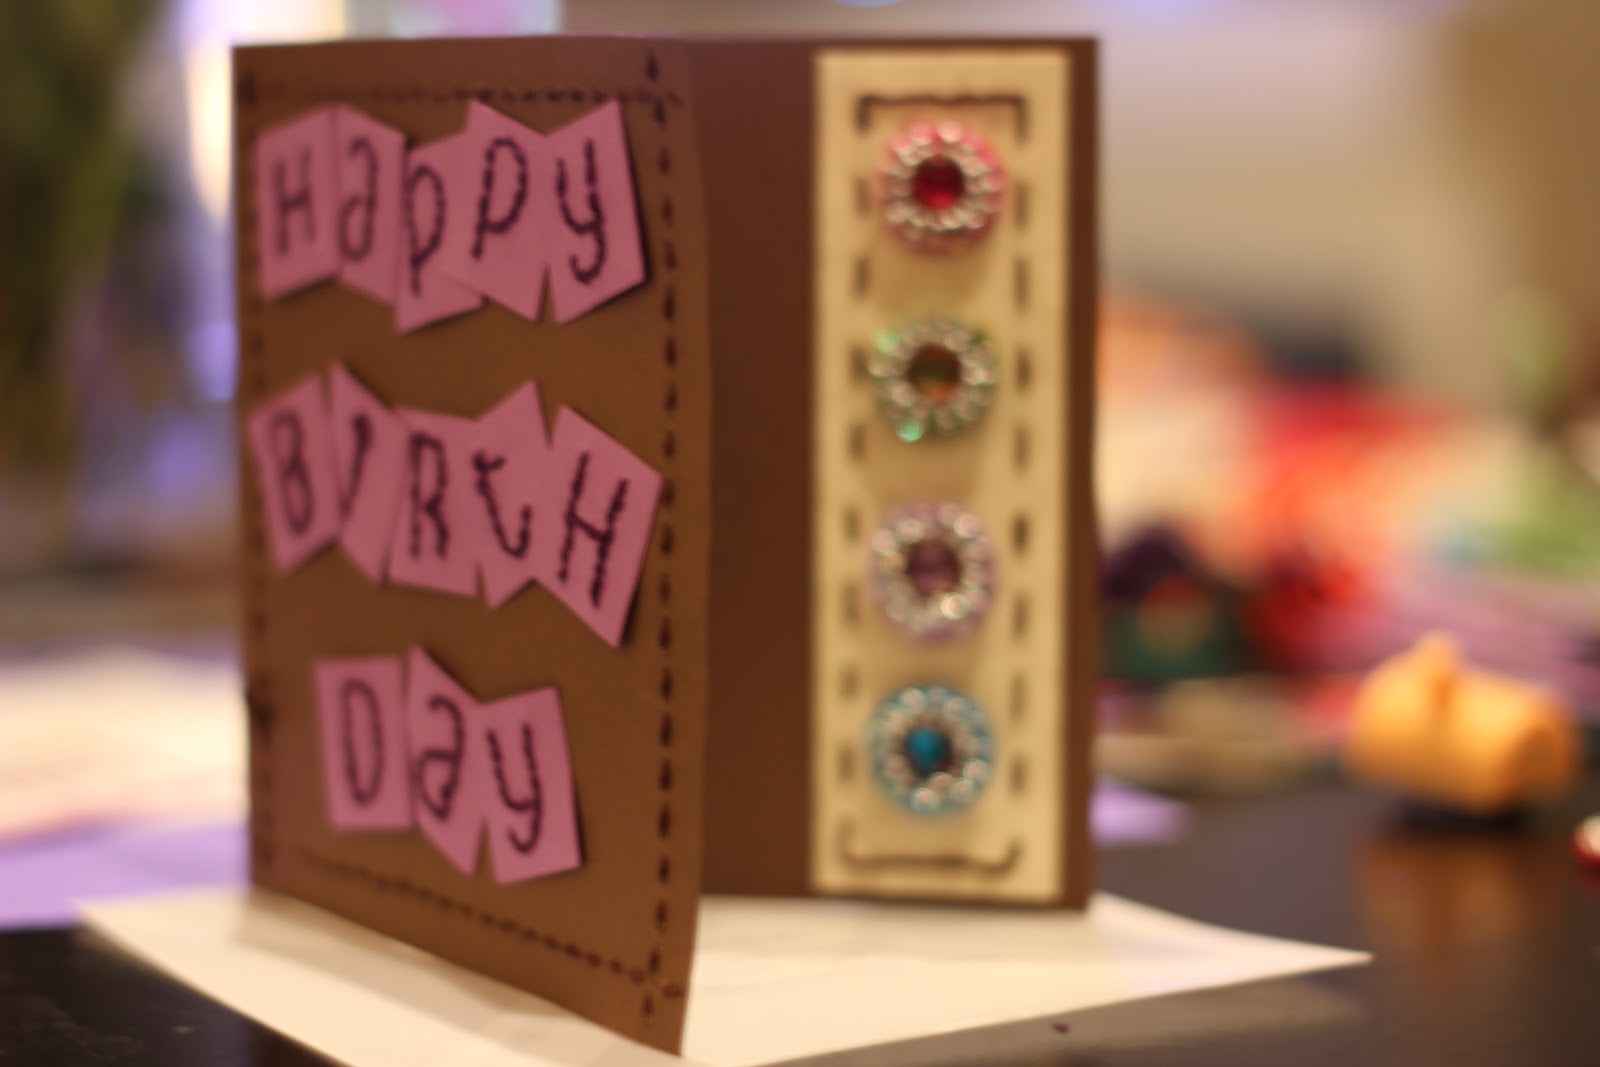
Greeting cards from the store are great, especially the ones that stole the words out of your mouth.  But a hand made Birthday card? The only thing better is being in person to tell your loved one, “Happy Birthday!” If you time it right, you can get the card in the mailbox the day of their birthday, which makes it even more special.
To make the card:

Embellishments
1. Creativity!  Where to get the ideas? Look at card ideas online, at the store,scrapbooking magazines, online blogs, your dream of the perfect birthday card.
2. Buy special embellishments from your craft store and add to the card to make it that more special. If you can find ones that fit the person you are making the card for, all the better. 
3. Hand stitch over the lettering and any other place on the card that you wish.
   Various Fonts and Scripts
TIP: When punching your holes into the card, put on top of styrofoam, card board, or cork (from old cork board, pot trivet). It allows for the holes to go all the way through the paper and doesn’t leave damage to your table surface. 
4. The post office has really great stamps that you can use to make the card a little more special. 
Even if you missed the day, sending a belated card means just as much.  Just showing someone you thought of them on their special day puts a smile on their face, and hopefully makes for a memorable birthday.